I've been playing with trying to make "stereo vision" photos. Most people have depth perception because our eyes are a few inches apart and thus see things from slightly different angles. The brain merges these into a 3D image. If you take two photos from slightly different angles, you can use these photos to get a 3D image. I have to use a stereoscope to do this, but some people can do it without the aid of lenses. The "View-Master" toy operates on the same principle.
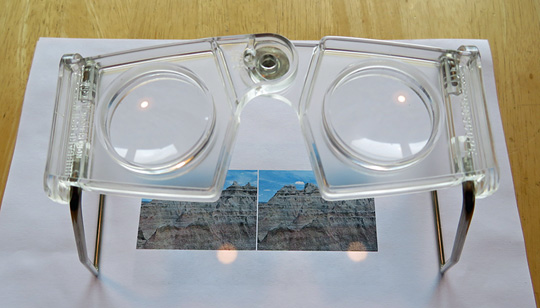 |
| An inexpensive stereoscope. |
Below are two examples. I took the left image of each pair, then stepped to the right about a foot and took a second photo. Because I didn't use a tripod, I aligned the two images in Photoshop Elements, and set the width at 5 inches (details of the method are given at the end of this post). The printed photos popped into 3D.
To see how this works, right-click (control-click on a Mac) on an image below, and save it to your computer. Print it, making sure the width is 5 inches. Then use a stereoscope to view the image.
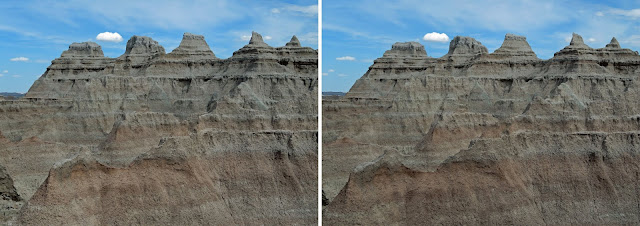 |
| Badlands National Park |
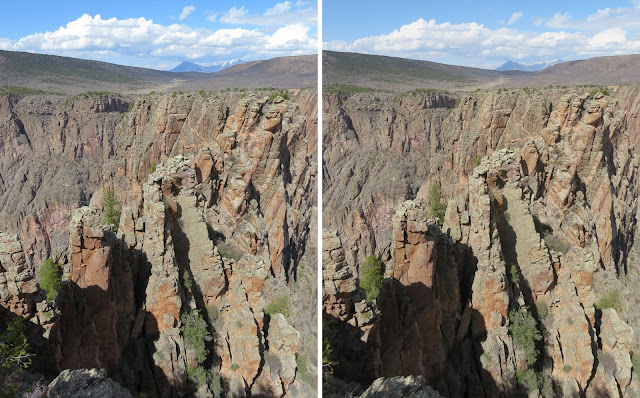 |
| Black Canyon of the Gunnison National Park |
More details on aligning the photos in Photoshop Elements:
- Copy the second photo and paste it on top of the first photo. This creates a second layer.
- Change the opacity of the top layer to about 50%.
- Drag the top layer to align the middle of the horizon in both photos. The center of the photos should align well, but as you view to the left or right, you will notice that the two photos do not completely align. This is because the photos were taken at slightly different angles. The horizon will be largely unaffected, but the closer the object, the greater the discrepancy.
- Change the opacity of the top layer back to 100%.
- Crop the photo as desired. You at least want to make sure there is no "blank space" in either of the layers.
- Use "Canvas Size" to make the canvas just a bit wider than twice the photo size. Also make sure that you click to align the image with the left edge of the enlarged canvas. This will create a large "white space" to the right of the photo.
- Drag the top layer to the right side of the canvas. This should leave a small white bar between the two photos.
- Use "Image Size" to make the width 5 inches with a resolution of your choosing, but at least 300 pixels/inch. (I had to play around with the size, and found the best results with a printed width of 5 inches. Your stereoscope - and eyes - may vary.)
- Print the photos at actual size. (Sometimes you can just use the stereoscope on the computer screen. I've had success with this in the past, but not with these photos.)
- View with stereoscope.


No comments:
Post a Comment